


Inspire Art AI image generator is a Windows app that helps you make and edit images with AI. You can turn text prompts into new visuals, rework existing images, and switch between different art styles, from classic looks to more experimental ones.
That makes it useful for beginners, artists, designers, and anyone who wants faster ways to create visual ideas in 2026. In this guide, you’ll get a clear look at how it works, what features stand out, and whether it’s a good fit for your workflow.
How Inspire Art AI image generator works for beginners
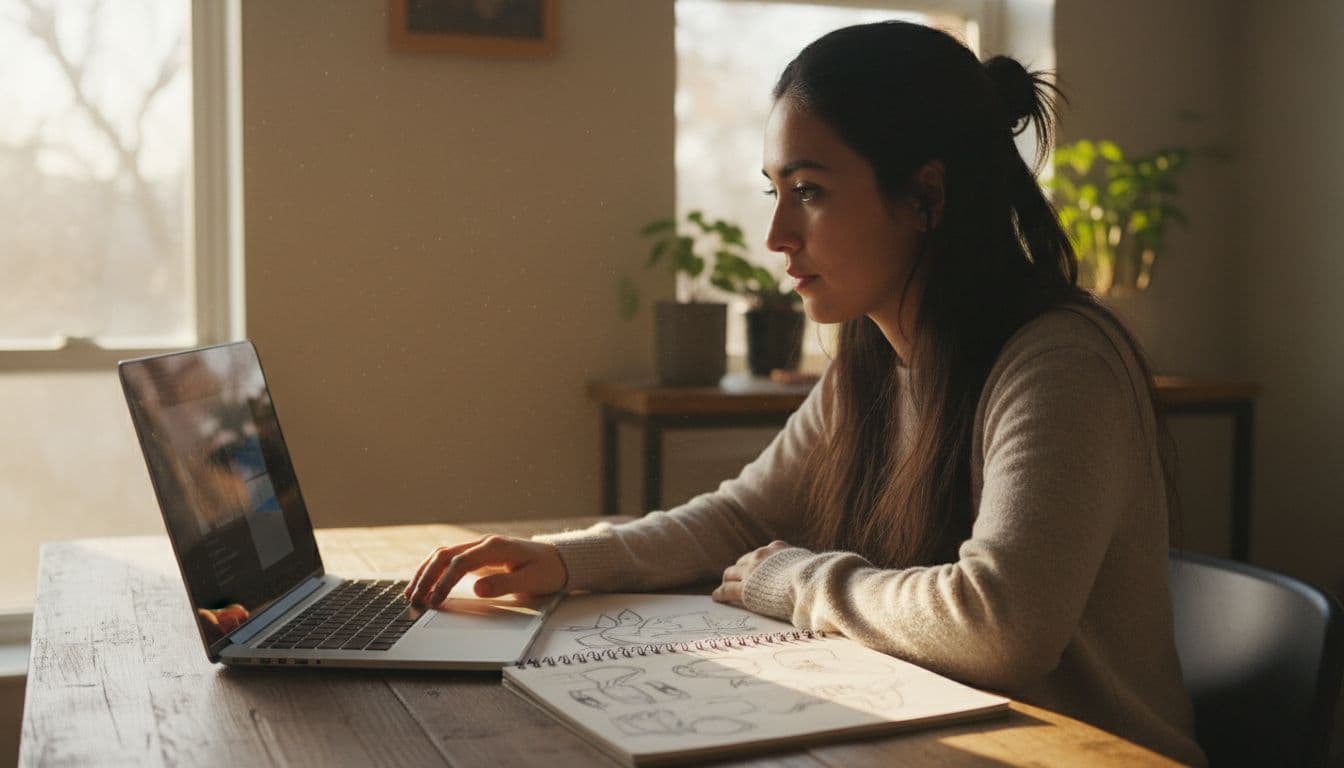
If you’re new to AI art, the core workflow in inspire art ai image generator is simple. You either describe what you want, or you start from an image you already have. Then you pick a style, generate a result, make small fixes if needed, and export the final image in high resolution.
Because it’s a Windows download, the setup feels more like using a normal creative app than learning a new system from scratch. Most beginners only need a few minutes to understand the flow: prompt, style, generate, edit, save.
Start with a prompt, or upload an image you want to change
The first step is choosing how you want to begin. For most people, that means one of two paths: text-to-image or image-to-image.
Text-to-image is the best choice when you’re starting with a blank page. You type what you want to see, and the app turns that idea into an image. Think of it like giving directions to an artist. The clearer your description, the better the result.
For example, “dog in a park” gives the tool room to guess. A prompt like “small brown dog running through a sunny park, fall leaves, realistic photo style” gives it a much better target. You don’t need fancy prompt writing, either. Simple, concrete details work well.
Image-to-image is better when you already have something to build on. That could be:
- a photo you want to restyle
- an old AI image that needs improvement
- a sketch you want to turn into finished art
- a reference image with the right pose or layout
This route saves time because you’re not asking the tool to invent everything from zero. Instead, you’re telling it, “keep the bones, change the look.” That’s especially useful when the composition already works.
A good rule is simple:
- Use text prompts when the idea is still in your head.
- Use an uploaded image when you already like the base image but want a different version.
Once your image is generated, you can keep refining it instead of starting over. After that, you export the finished piece when it looks right. Some app listings also note high-resolution export and Windows support, which helps if you want images for print, social posts, or design mockups. If you need a current Windows download page, one reference is this Inspire Art AI listing.
For beginners, the easiest win is starting with a short, specific prompt instead of a long, messy one.
Pick a style that fits the look you want
After you choose your prompt or image, the next big choice is style. This matters more than many beginners expect. The same prompt can look completely different depending on the model you pick.
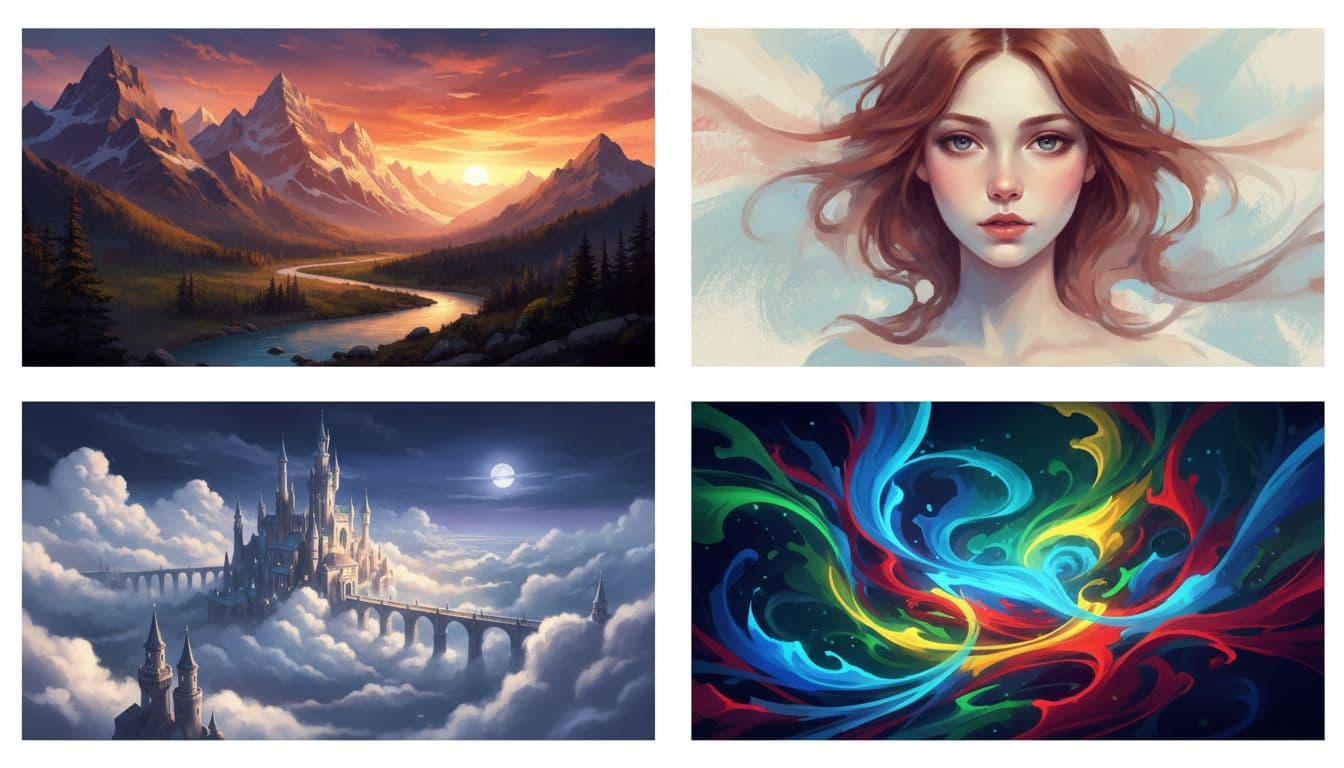
Inspire Art AI offers 20 plus models and styles, so you’re not locked into one visual look. That’s helpful because style acts like the lens for the whole image. If the prompt is your idea, the style is the mood, texture, and finish.
Some common examples make this easy to picture:
- Realistic works well for photo-like portraits, products, rooms, and scenes that should feel true to life.
- Painterly adds brush-like texture and a softer, more handmade feel.
- Fantasy pushes scenes into dramatic lighting, magical settings, and storybook art.
- Experimental is useful when you want strange shapes, bold color, or less predictable results.
You don’t need to test every option. Start with the style that matches your goal. If you’re making a clean headshot, go realistic. If you’re making concept art, try fantasy. If you want something artistic and less literal, painterly or experimental makes more sense.
It also helps to think in terms of fit, not “best.” There isn’t one best model for everything. A realistic model might be perfect for a face and terrible for a dreamy poster. On the other hand, a fantasy model might look amazing for a castle but too dramatic for a product image.
So keep your first pass simple. Pick one style, generate, then compare. If the image feels close but not quite right, switch styles before rewriting the whole prompt. That one change can do more than adding ten extra prompt details.
If you want a current overview from a download page that mentions the Windows version and model variety, see this Inspire Art AI Windows page.
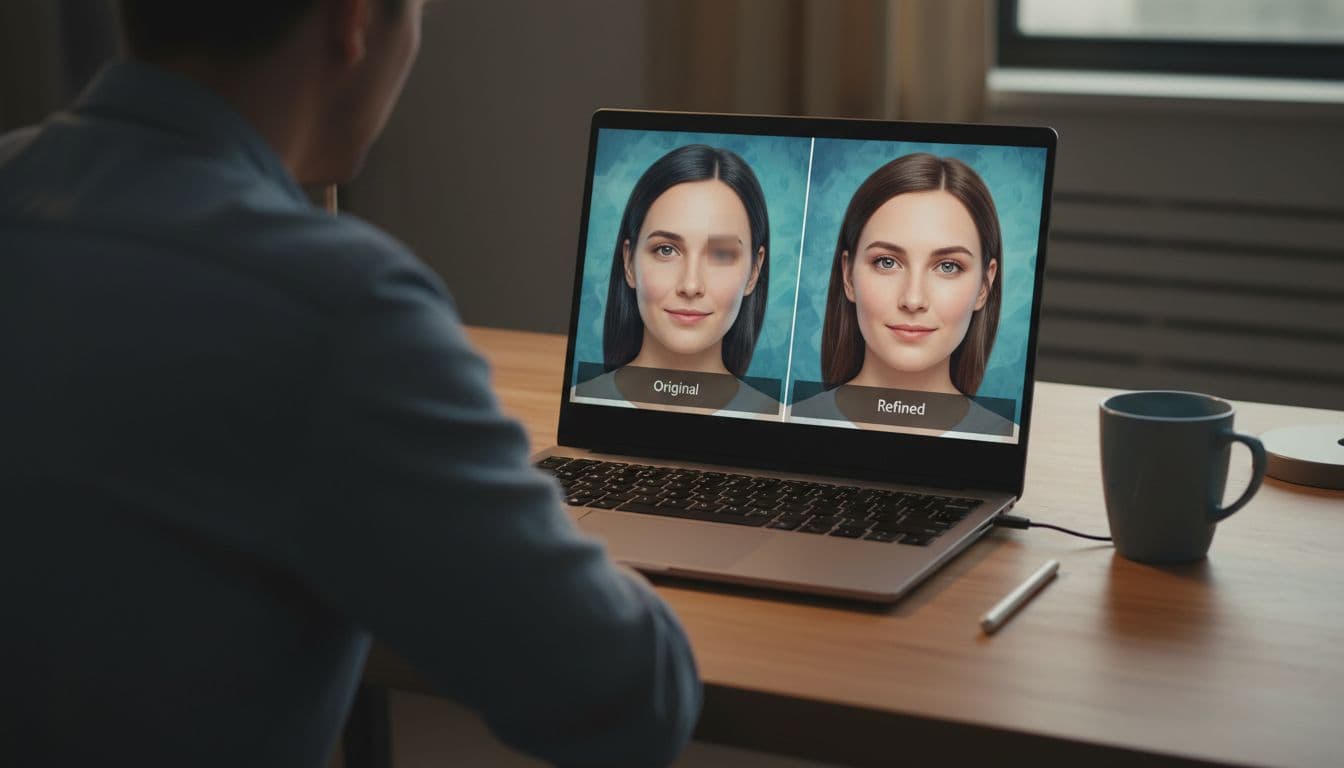
Edit small parts without starting over
This is where the workflow becomes much more beginner-friendly. If one part of your image looks wrong, you don’t always need to regenerate the whole thing. Instead, you can use the magic wand editing feature to target a small area and fix just that section.
That matters because AI images often miss in small, annoying ways. Maybe the hands look off. Maybe the face is close, but the eyes feel strange. Sometimes the background has clutter, the colors clash, or an object is half-formed. Rebuilding the whole image just to fix one corner is frustrating.
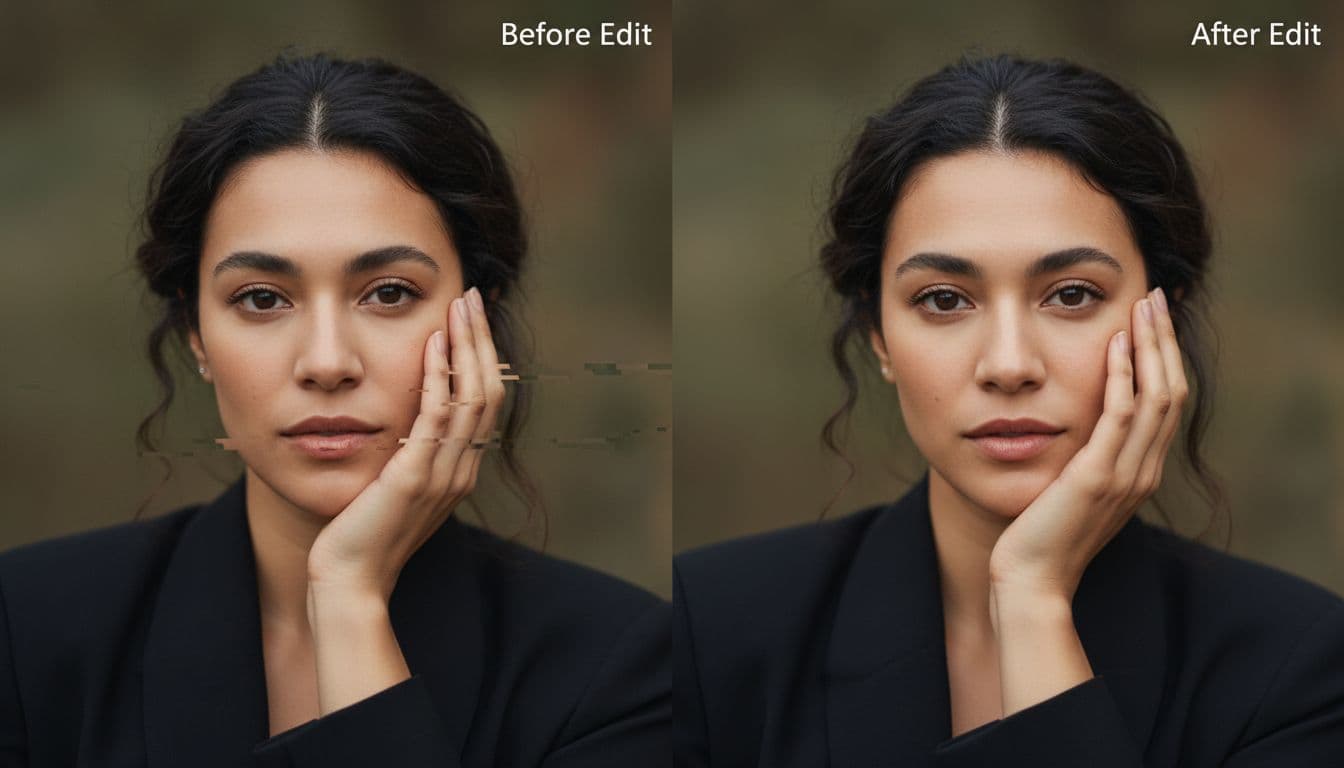
Selective edits save time because they keep the good parts in place. You can preserve the pose, lighting, and overall mood while cleaning up the weak spots. For a beginner, that feels a lot better than rolling the dice again.
The magic wand approach is especially useful for common fixes like:
- Faces that need cleaner features or better symmetry
- Hands that look awkward or incomplete
- Backgrounds with distracting shapes or messy detail
- Colors that need a warmer, cooler, or more balanced look
- Missing details such as jewelry, clothing texture, or small objects
A smart workflow is to generate first, then inspect the image in parts. Look at the face, hands, edges, and background separately. If 85 percent looks good, don’t throw it away. Fix the weak area and move on.
That small habit can cut your trial-and-error time fast. Then, once everything looks right, export the finished image in the resolution you need. For beginners, that’s the real advantage of inspire art ai image generator. It doesn’t just help you make images from scratch, it helps you finish them without extra hassle.
The features that make Inspire Art stand out
A lot of AI image tools can make a picture. What matters is how quickly you can get to a version you actually want to keep. That is where inspire art ai image generator feels practical for beginners and still useful for more serious creative work.
Based on available listings for the current Windows release, version 1.2.5 offers free Windows access, more than 20 built-in styles and models, image editing tools, and HD export options. For anyone comparing tools, those features matter because they affect your speed, your options, and the quality of what you can share later. A current software listing also points to version 1.2.5 and its main feature set on FileCR’s Inspire Art page.
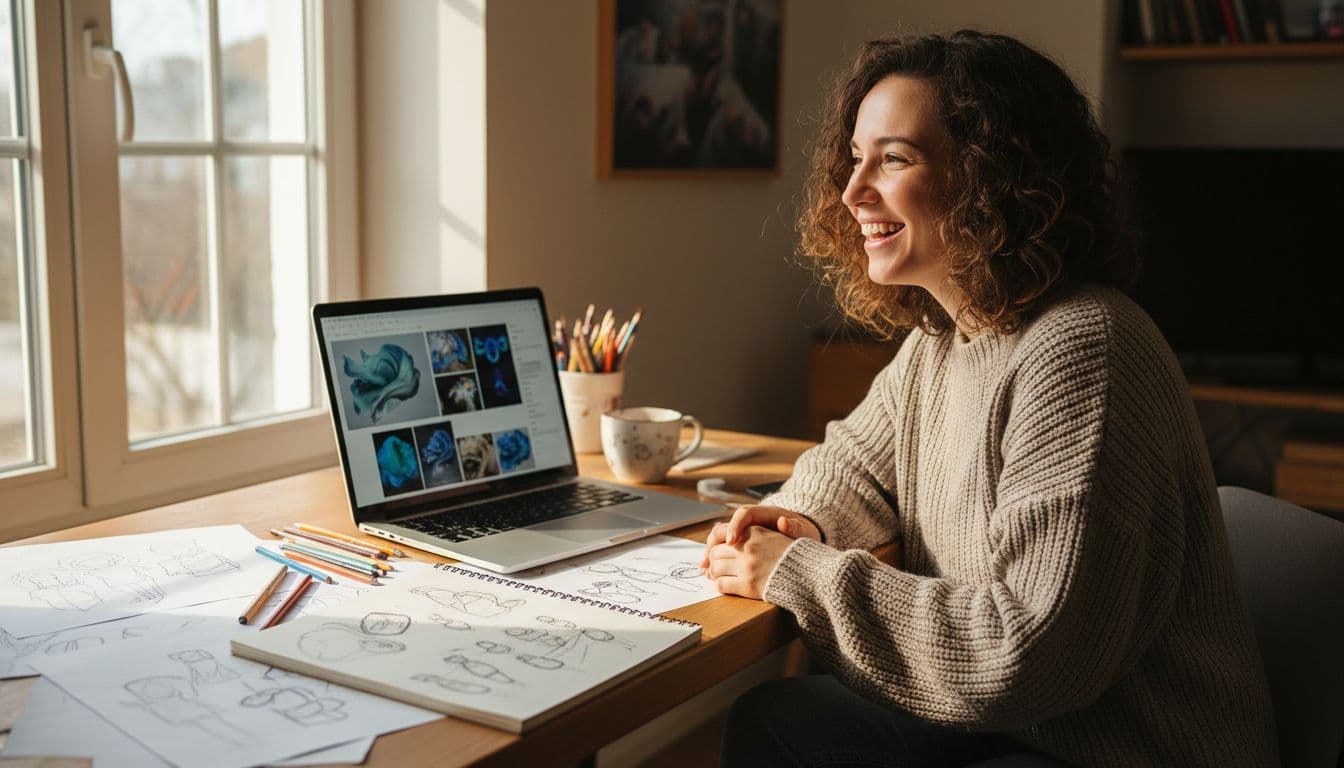
More than 20 styles gives you room to test ideas
Having more than 20 styles and models sounds like a spec sheet detail, but in real use it saves time. You do not have to force one model to do every job. Instead, you can move fast, test a few looks, and keep the one that fits best.
That makes a big difference when your idea is still rough. Maybe you want a portrait that feels clean and photo-like. Maybe the same prompt would work better as pixel art, oil paint, or a cartoon look. With built-in variety, you can treat each style like a new lens on the same subject.

For beginners, this lowers the pressure. You do not need the perfect prompt on the first try. You can start with a solid idea, run it through two or three styles, and compare the mood, detail, and color. In other words, you are sketching with models instead of redrawing everything by hand.
A simple way to use this feature is:
- Pick one prompt or source image.
- Test a few very different styles.
- Save the strongest direction.
- Edit only after the style feels right.
That order matters because style changes often do more than prompt tweaks. If one result looks flat, switching the model may fix it faster than adding more words. Some third-party reviews also highlight this broad style range as one of the app’s most useful strengths, as seen in this Inspire Art review.
More built-in looks means fewer dead ends, because you can compare directions before you commit.
High resolution export is useful for sharing and portfolio work
Export quality is easy to overlook until you need the image outside the app. A concept that looks fine on screen can fall apart when you post it, send it to a client, or print it. That is why HD export is more than a bonus feature.
For social posts, higher resolution gives you cleaner edges and better detail after platforms compress the image. For client drafts, it helps your work look polished, even at an early stage. If you want to run a print test, sharper exports make it easier to spot weak textures, odd artifacts, or muddy shadows before you waste paper and ink.
It also helps with personal portfolio work. If you are building a Behance page, a PDF sample deck, or a simple client gallery, crisp files hold up better. You can crop in, resize, and reuse the same piece without it turning soft too quickly.
Here is the practical takeaway:
- Social sharing: Cleaner posts, even after compression
- Client previews: Better first impression with less fuzziness
- Print tests: Easier to judge detail before final output
- Portfolio pieces: More flexible files for future use
That does not mean every image needs to be huge. It means you have room to choose. And when a tool gives you both fast generation and solid export quality, it is easier to move from idea to usable asset without switching apps.
How to get better results with Inspire Art AI image generator
Getting better images usually comes down to two habits: describe what you want clearly and edit with patience. If your results feel random, the problem often is not Inspire Art AI image generator itself. It’s that the tool is filling in blanks you never meant to leave open.
A good prompt gives the image a map. Then small edits help you steer instead of starting from zero each time. That simple shift can turn messy trial and error into a process that feels much more intentional.
Write prompts that are clear, specific, and easy to picture
Think of your prompt like directions to a painter. If you say too little, the tool has to guess. If you describe the scene in a way you can almost see in your head, the result usually comes back closer to what you meant.
Short prompts can work, especially for simple ideas. Still, better prompts often get better results because they reduce guesswork. Instead of writing “woman in city,” try something like “young woman walking on a rainy city street at night, neon signs, cinematic style, soft blue light, calm mood, side view.” That gives the app a real target.
When you write prompts, try to cover the pieces that matter most:
- Subject: Who or what is in the image?
- Setting: Where is it happening?
- Style: Realistic, fantasy, anime, sketch, oil painting, and so on.
- Lighting: Soft daylight, golden hour, studio light, moody shadows.
- Mood: Calm, tense, dreamy, playful, dark.
- Angle: Close-up, wide shot, front view, side view, top-down.
- Important details: Clothing, colors, weather, objects, pose, facial expression.
You do not need to cram every prompt with extras. Pick the details that shape the image most. In other words, give the model the bones first, then add the features that really matter.
A simple formula helps: subject + setting + style + lighting + mood + angle + key details
For example, compare these two prompts:
- Weak: “cat in a room”
- Better: “fluffy orange cat sitting on a windowsill in a cozy bedroom, morning light, realistic photo style, peaceful mood, close-up”
The second one is easier to picture, so it is easier for the AI to build. If you want more ideas on prompt structure, guides like Dupple’s AI image prompt guide can help you practice the basics without overcomplicating things.
If you can picture the image clearly, your prompt is probably strong enough to guide the result.
Make one change at a time when an image is close
Once an image is almost right, resist the urge to rewrite everything. That usually creates a totally different image, which means you lose the parts you already liked. A better move is to change one variable at a time.
This keeps your results more consistent and saves a lot of frustration. If the pose looks good but the background feels wrong, change the background only. If the colors are flat, adjust the color mood first. Small edits act like turning one knob instead of shaking the whole machine.
Here are a few smart things to test one by one:
- Color: Warmer tones, cooler tones, higher contrast, softer palette.
- Background: Cleaner scene, different location, less clutter.
- Pose: Looking at camera, turned profile, sitting, walking.
- Lighting: Brighter daylight, sunset glow, dramatic shadow.
- Style: Realistic instead of painterly, or the other way around.
Let’s say you generate a portrait that has the right face and lighting, but the jacket looks off. Don’t rebuild the whole scene. Fix the jacket. If the image has the right composition but the mood feels too dark, shift the mood and keep the layout.
This is also where the magic wand editing feature becomes useful. You can target weak spots instead of throwing away a strong image. Many general prompt guides, like ImprovePrompt’s image generation tips, make the same point: smaller changes often lead to cleaner, more predictable results.
Over time, this habit teaches you what each tweak really does. That’s when inspire art ai image generator starts to feel less like a slot machine and more like a sketchbook you can control.
Who should use Inspire Art, and what to know before you download it
Not every AI art app fits the same kind of user. Inspire art ai image generator makes the most sense if you want to move from idea to image quickly, especially on a Windows PC. Since it’s currently offered as a free Windows download, it’s easy to try without a big commitment. Still, the smart move is to test whether the results match your standards, your style, and the pace of your real projects.
Best fit for hobby artists, designers, and fast idea generation
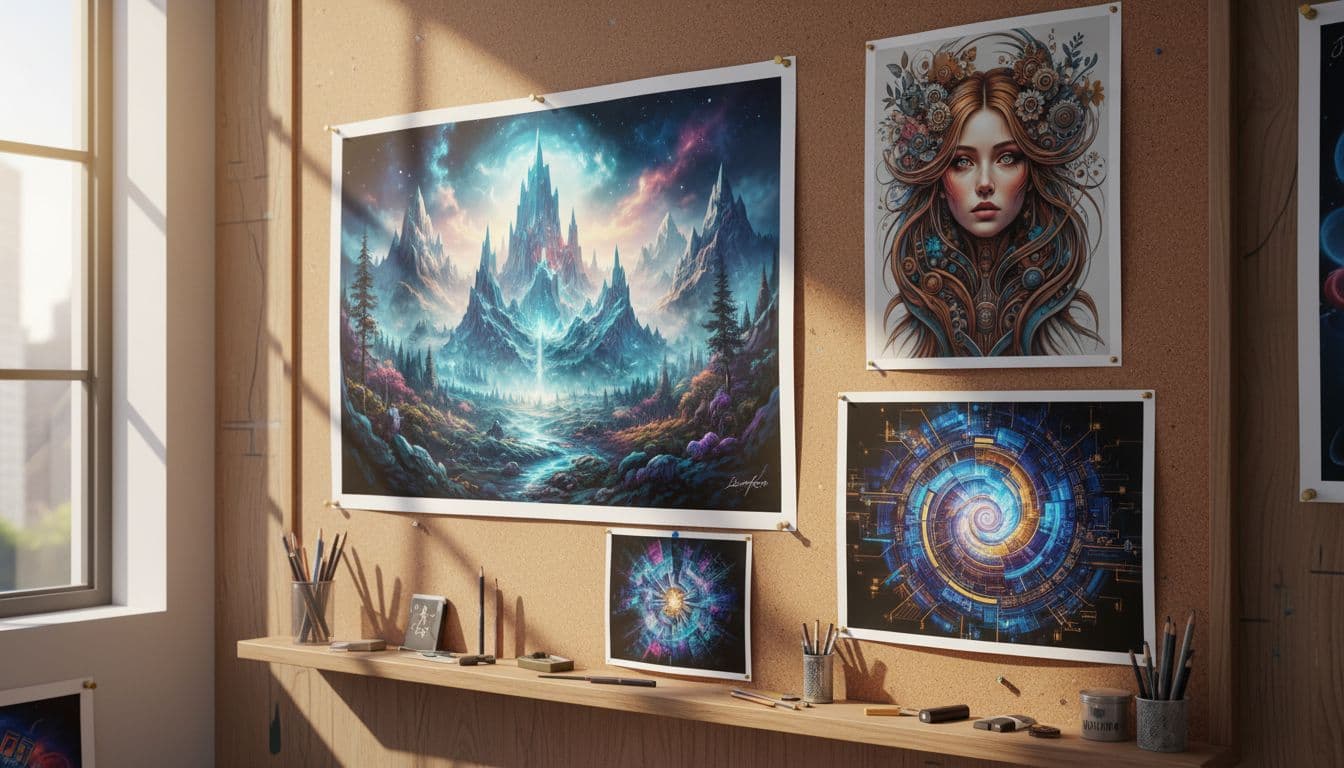
If you like making art for fun, this tool has a clear appeal. You can sketch with words, test looks fast, and create something shareable without spending hours drawing every detail. For hobby artists, that can feel like opening a sketchbook that answers back.
It also fits people who think visually but need speed. For example, a designer can test poster moods, color directions, or rough layouts before building the polished version elsewhere. In the same way, content creators can make eye-catching visuals for social posts, thumbnails, mood boards, or portfolio fillers when they need options fast.
This kind of app tends to work best for a few groups:
- Hobby artists: Great for trying styles, remixing sketches, and turning rough ideas into finished-looking images.
- Designers: Useful for concept exploration, client drafts, and quick visual direction before deeper design work.
- Content creators: Handy for blog graphics, social images, and visual experiments that need to look good fast.
- Portfolio builders: Helpful when you want more range, more mock concepts, or more polished samples to show.
Because the app supports text prompts, image changes, style switching, and HD export, it can cover a lot of early-stage creative work. A current Windows listing also highlights the free download and version details on Pesktop’s Inspire Art page. So if your goal is idea generation first, not pixel-perfect control from the start, Inspire Art may feel like a good fit.
A few limits to think about before making it part of your workflow
The trade-off is simple: speed doesn’t always mean consistency. Like most AI image tools, Inspire Art gets better when your prompts get better. If you’re vague, the app will guess, and those guesses won’t always help.
You should also expect some trial and error. One style may nail the mood but miss the face. Another may get the composition right but flatten the colors. That means your first result often isn’t the final one, especially if you want repeatable output for client work or a tight visual series.
Test it on one real project first. That’s the fastest way to see if the quality and workflow fit your needs.
Platform fit matters too. Right now, the main desktop option is Windows, so Mac-first users will need a different setup. And while reviews often mention its beginner-friendly feel, it’s still wise to compare quality, control, and reliability against your own use case, not just a feature list. For a broad reminder that AI image tools vary a lot in prompt control and consistency, see App Review Lab’s 2025 AI image generator roundup.
In short, inspire art ai image generator looks strongest as a fast creative helper. It may be less ideal if you need strict output consistency every time.
Conclusion
Inspire Art AI image generator stands out because it keeps the process simple while still giving you room to make the image your own. You can start with a prompt or a source image, test different styles, fix weak spots with selective editing, and export sharp files when you’re done. That mix makes it a strong fit for beginners, hobby artists, designers, and anyone who wants faster visual ideas without giving up too much control.
If you want a Windows-based AI art tool that helps you move from rough concept to polished image, Inspire Art is worth a closer look. Try it on a real project first, then compare the results, editing tools, and export quality with other AI art options to see which one fits your workflow best.