


If you’re searching for how to trace image in ai, you probably mean one of two things. Some people mean Adobe Illustrator, which is often shortened to AI. Others mean AI-powered tracing tools that turn a JPG or PNG into vector art online.
This guide covers both, in plain English. You’ll see when tracing makes sense, how to do it in Illustrator, and how newer web tools compare in March 2026.
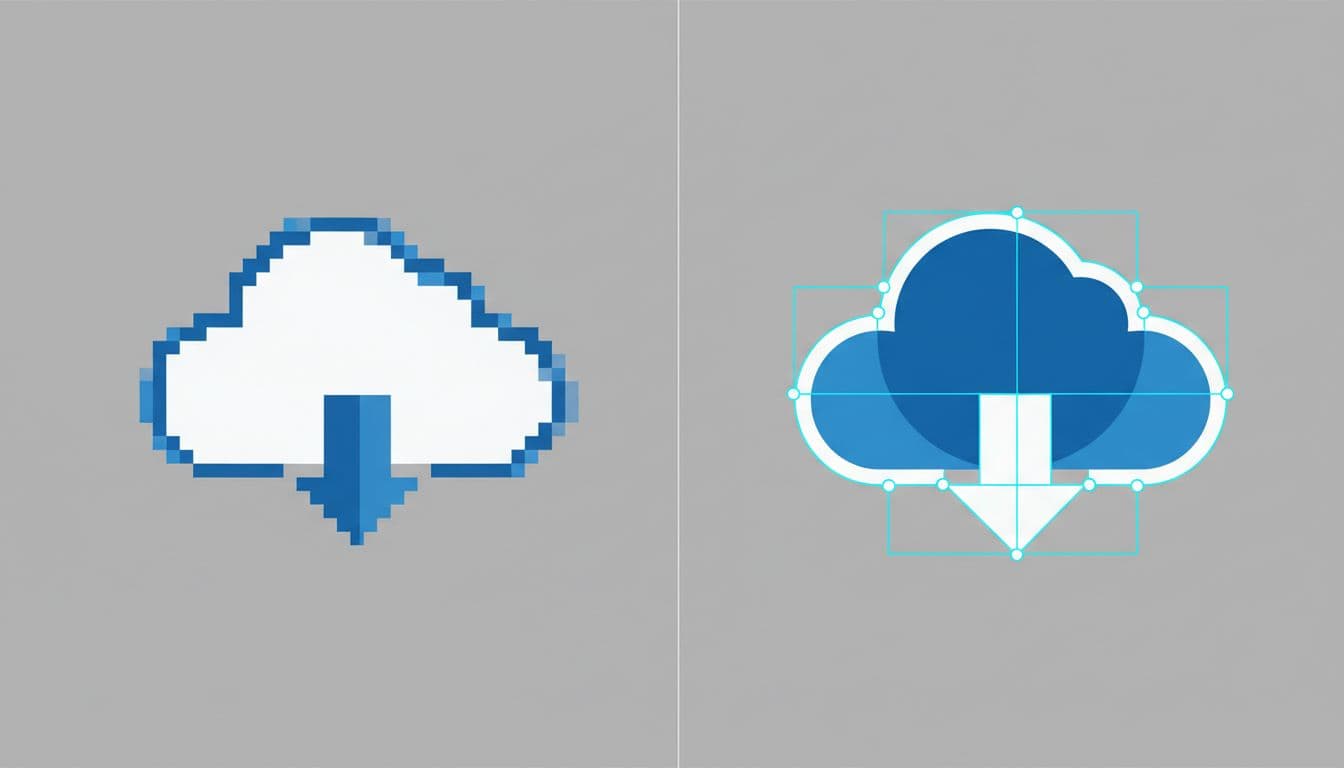
First, a quick ground rule. A raster image is made of pixels, so it gets blurry when you scale it too far. A vector file is made of paths and shapes, so it stays sharp at almost any size. That’s why tracing matters for logos, icons, line art, stickers, signs, and print files.
Know when image tracing is the right choice
Image tracing converts a pixel image into editable vector shapes. Think of it like turning a photo of a drawing into clean cut paper pieces you can move around.
It works best when the source image is simple. Logos, black-and-white sketches, decals, simple mascots, and scanned line art usually trace well. In those cases, the software can spot clear edges and turn them into paths without too much guesswork.
Still, tracing is not magic. A detailed photo with soft shadows, skin tones, and lots of texture often turns into a tangled mess. You may get hundreds of tiny shapes, rough edges, and files that feel heavy. If the image looks more like a watercolor than a coloring book page, tracing usually isn’t the best route.
The best images to trace are simple, sharp, and high contrast
The best source files have clean edges, a plain background, and strong contrast between the subject and the background. A dark logo on white works far better than a blurry screenshot with gray noise around it.
Good resolution also helps. If the image is tiny, fuzzy, or compressed, the trace tool has to guess where the edge should be. That guess often creates extra anchor points and jagged outlines. Adobe’s own Image Trace overview shows the same basic idea: cleaner input gives cleaner output.
What you get after tracing, editable paths, shapes, and scalable files
Once traced, the artwork becomes vector shapes that you can edit. You can resize it for a business card, then blow it up for a banner without losing sharpness.
That vector can usually be saved as SVG, AI, EPS, or PDF. Those formats are common for print shops, laser cutters, vinyl cutters, and web graphics.
One thing surprises beginners: the first trace is rarely the final file. Most traced art needs cleanup. You may need to remove white fills, smooth a curve, merge shapes, or delete tiny scraps. That’s normal. In fact, the cleanup step often matters more than the initial click.
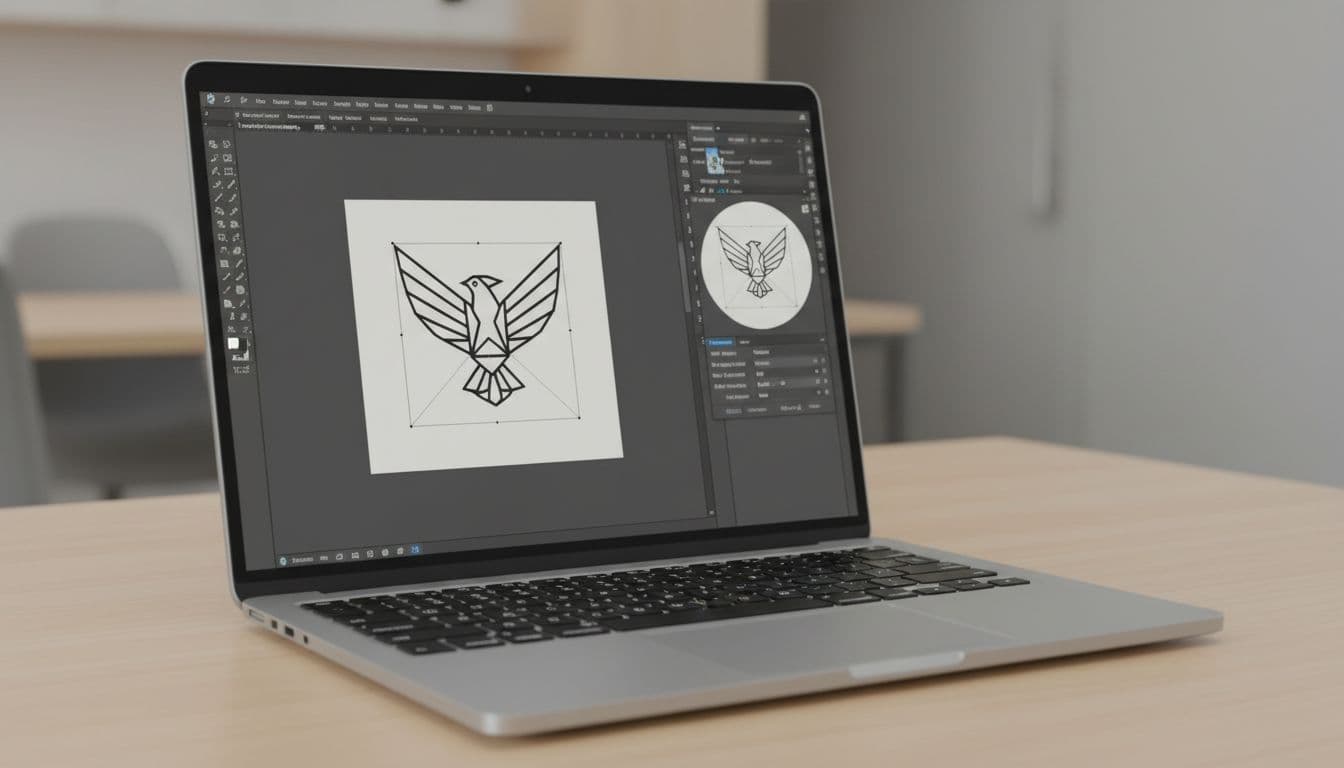
How to trace an image in Adobe Illustrator, step by step
Illustrator remains the best choice when you want control. In March 2026, recent Illustrator builds still center tracing around Image Trace, and newer improvements like transparency support, smarter grouping, and fewer anchor points can make results easier to edit.
Place your image and start with Image Trace
Open Illustrator and create a new document. Then go to File > Place and choose your image. Click to place it on the artboard, and resize it if needed.
After that, select the image. You can start tracing from the top control bar, or open Window > Image Trace for more options.
A simple workflow looks like this:
- Place the image on the artboard.
- Select it with the Selection tool.
- Click Image Trace or choose a preset.
- Turn on Preview if the panel is open.
- Treat the first result as a draft, not the finish line.
The first preview often looks either too rough or too busy. That’s fine. The point is to get close, then refine.
Adjust the settings so the trace matches your artwork
This is where beginners get better fast. You do not need every slider. You only need to know what the main ones change.
Start with Mode. Use Black and White for logos, line art, and ink drawings. Use Color for flat illustrations, stickers, or art with a small color palette.
Next, watch the detail controls. Higher detail usually keeps more edge variation, but it also adds more points. More points mean harder editing later. For simple graphics, less detail often looks cleaner.
If you choose Color mode, reduce the number of colors until the image still looks right. Fewer colors usually produce better shapes. If the background is white, try Ignore White so Illustrator drops those white fills instead of tracing them as extra objects.
Adobe also has a useful page on optimizing Image Trace results, and the advice holds up well in 2026. Make small changes, preview the result, then stop when it looks clean. Pushing every slider higher usually makes things worse, not better.
A good trace is not the one with the most detail. It’s the one that keeps the right detail.
Click Expand, then clean up the vector so it looks polished
When you like the preview, click Expand. This turns the live preview into real vector paths and shapes you can edit.
From there, ungroup the artwork if needed. Delete stray bits, remove leftover background shapes, and smooth any rough curves. You can also recolor parts, merge overlapping shapes, or simplify paths that look too bumpy.
This is also the moment to inspect anchor points. If one curve has far too many points, it may print fine, but it won’t be fun to edit later. Cleaner paths usually mean a better file.
For logos and icons, try to keep shapes bold and simple. If the traced version feels nervous or shaky, redraw a few parts by hand. That small touch often makes the art look much more professional.
How AI image tracing tools work outside Illustrator
If you don’t need full desktop editing, online tracing tools can save time. Based on current March 2026 comparisons, Adobe Illustrator Image Trace, VectoSolve, and Vectorizer.ai are among the most talked-about options for image-to-vector work.

A simple tracing workflow most AI vectorizer tools follow
Most web tools follow the same basic pattern. You upload an image, pick a detail level, choose color or black and white, preview the result, then export a vector file.
In plain terms, the workflow usually looks like this:
- Upload a PNG, JPG, or similar image.
- Pick low, medium, or high detail.
- Choose color, grayscale, or black and white.
- Preview the traced result.
- Download SVG, PDF, or another vector file.
That’s why these tools are popular for quick jobs. Recent roundups, including this 2026 comparison of AI image-to-SVG tools, show the same pattern: they’re fast, but the better ones still depend on a clean source image.
Which tool fits your needs, quick online tracing or full editing
Here’s the short version:
| Tool type | Best for | Trade-off |
|---|---|---|
| Web vectorizer | Fast one-off tracing | Less editing control |
| Illustrator | Full control and cleanup | Takes longer to learn |
| Inkscape | Free tracing and editing | Slower, simpler tools |
VectoSolve and Vectorizer.ai are strong web options in 2026, especially when you want quick SVG output. If you want a closer look at features and use cases, this VectoSolve tools guide gives a current snapshot. If you’d rather stay free, Inkscape remains a solid desktop choice, and the Maker Lab Inkscape tracing walkthrough is a good starting point.
One more point matters here. AI image generators are not the same as tracing tools. A generator creates new art from a prompt. A tracing tool converts an existing raster image into vector paths.
Fix the most common tracing problems before you export
Most bad traces come from two things: a weak source image or overly aggressive settings. The good news is that both are easy to fix.
If the trace looks rough, simplify the image before tracing
Start before the trace, not after it. Crop empty space, remove the background, boost contrast, and use the sharpest version of the image you have.
If a sketch is faint, darken the lines first. If the background is messy, clean it before upload. Better input usually gives a better trace, because the software has fewer edge decisions to make.
When details disappear, lower noise filtering or raise detail a little. On the other hand, if the tool starts tracing dust and compression marks, back those settings down.
If the file feels heavy, reduce points and simplify shapes
A file packed with points can feel like dragging a shopping cart through gravel. It moves slowly, edits poorly, and often prints no better than a simpler version.
For that reason, reduce detail when tracing logos, badges, and icons. Lower the number of colors too, if color mode is active. After expanding, simplify paths and delete tiny scraps you’ll never notice in the final art.
For clean brand marks, fewer points usually look better than more points.
In short, don’t judge the trace by how much it captured. Judge it by how cleanly it captured the right parts.
Tracing an image in AI gets much easier once you know what matters. Start with a clean source file, trace it in Illustrator or a trusted web vectorizer, adjust only the key settings, then expand and clean the result. After a few tries, vector tracing stops feeling technical and starts feeling predictable. That’s when beginners get good results fast.