


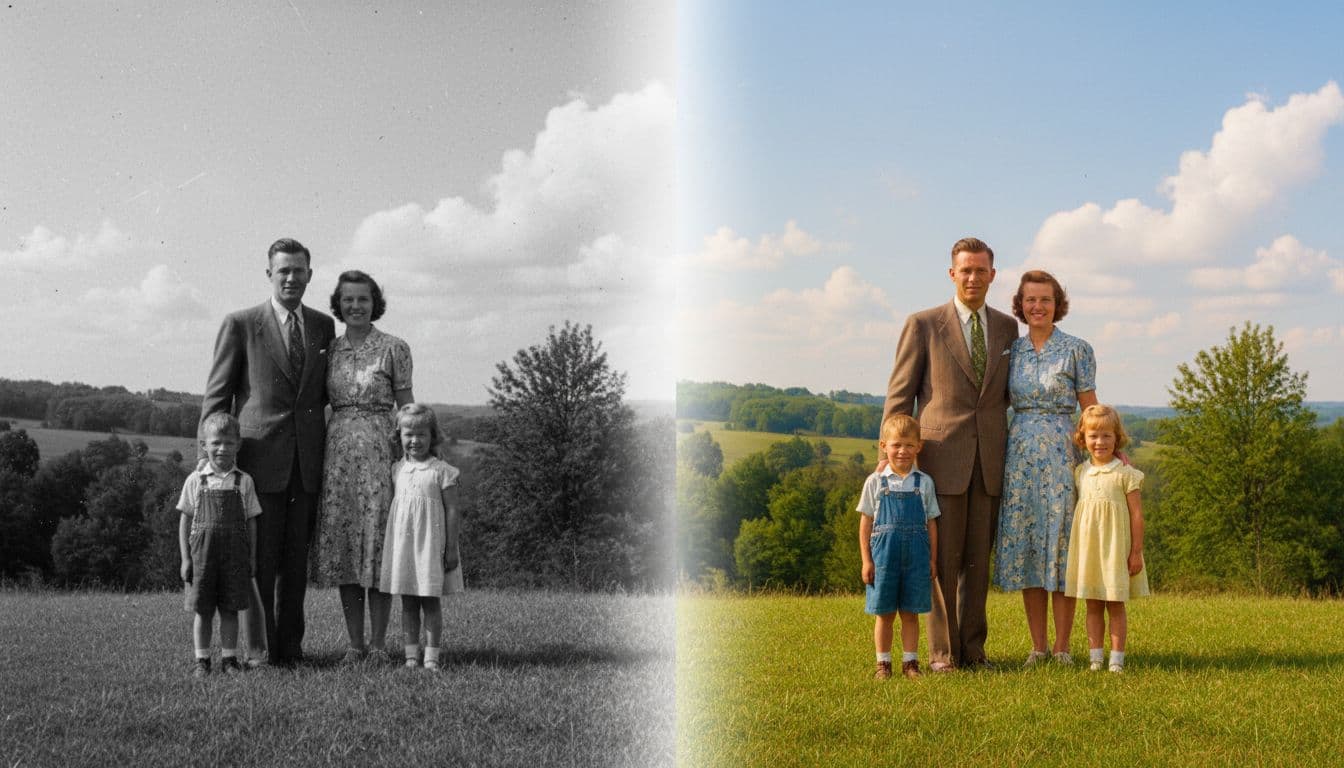
If you’ve got old family footage, black-and-white clips, archive video, or a creative project that feels flat, color can change how it lands. A good ai colorize video free tool can make faces, clothes, streets, and small details feel more present, which is why so many people want an option that doesn’t cost anything upfront.
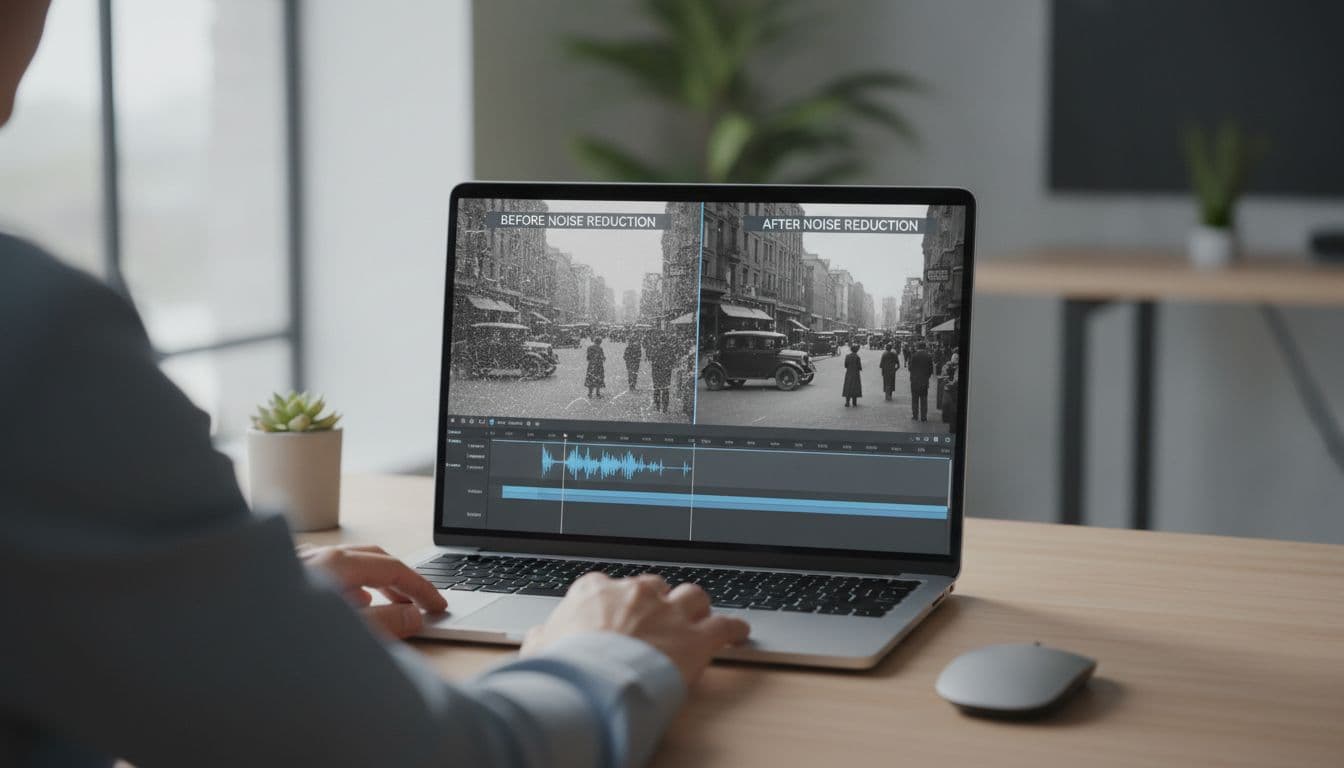
In simple terms, AI video colorization studies each frame, guesses realistic colors from patterns it has learned, and applies those colors across the clip. That saves a lot of manual work, so it’s much faster than coloring video by hand. For home movies and short edits, that can be a huge win.
Still, free tools usually come with trade-offs. Some cap export quality, slow down processing, lock full downloads behind a trial, or give you fewer controls over tone and consistency. Others work well for quick tests but struggle with long clips or harder scenes.
This guide will help you sort through those limits and find the right free option for your footage, budget, and skill level. You’ll also get practical tips to improve results, so your restored video looks more natural and worth keeping.
What AI video colorization does, and where free tools work best
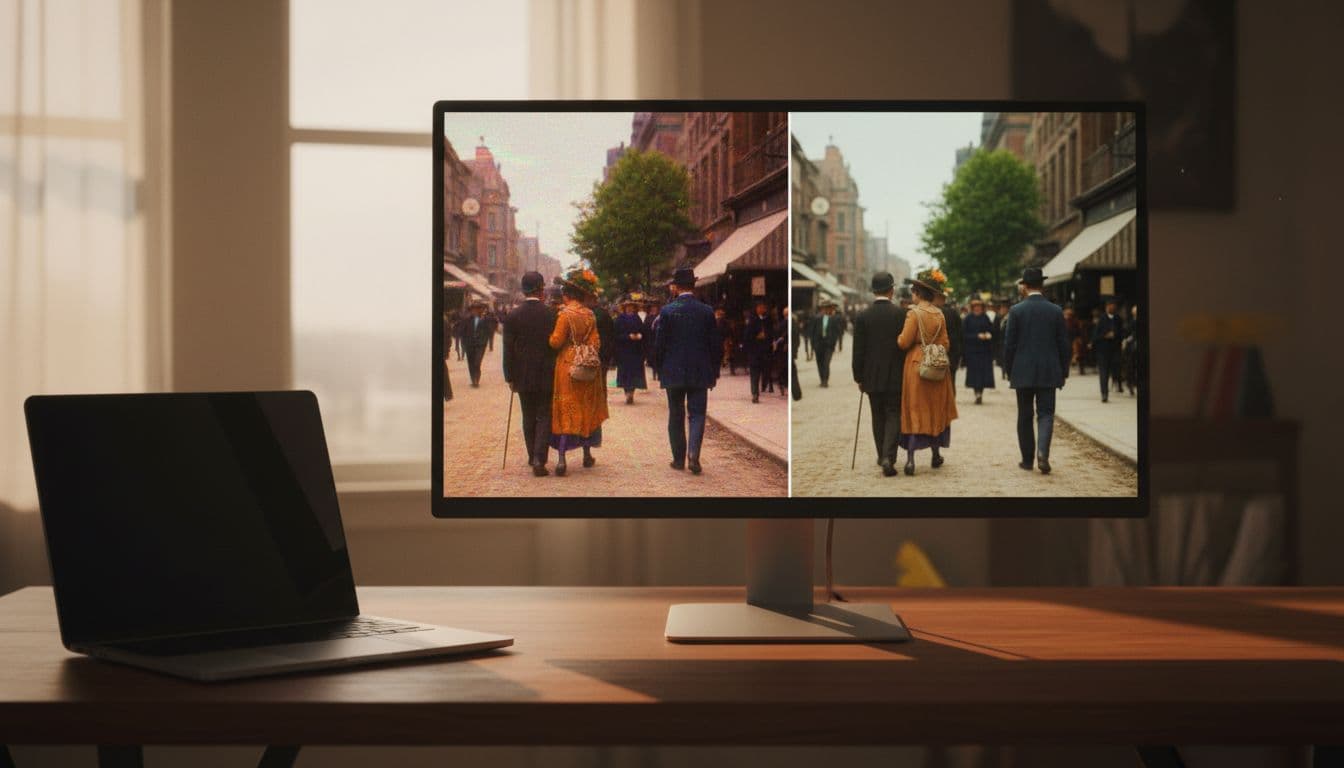
At its core, ai colorize video free software takes a black-and-white clip and makes an educated guess about what the scene should look like in color. It does that fast, which is why these tools are so useful for old family films, travel footage, school projects, short documentaries, social posts, and creative restorations. Still, the key thing to remember is simple: the colors are estimates, not perfect historical fact.
How AI adds color to black and white video without manual frame-by-frame work
AI colorization works a bit like a very fast assistant editor. It studies each frame, looks for faces, skin, clothes, sky, trees, roads, walls, and other common objects, then applies likely colors based on patterns it has learned.
Instead of painting every frame by hand, the software automates the hard part. That saves hours of tedious work, especially on longer clips. Modern tools also try to track changes from one frame to the next, so colors stay more stable and you get less flicker.
For example, if the system spots a face, it will assign a probable skin tone. If it sees open space above a street, it may color that area as sky. In the same pass, it can guess grass, jackets, hair, and building surfaces. Services like Kolorize video colorization and tools explained in Pixbim’s video colorize guide show how far this automation has come.
The result can look surprisingly natural, but it should be treated as a smart reconstruction, not proof of the original colors.
When a free AI colorizer gives great results, and when it struggles
Free colorizers usually do best with clean, readable footage. If your clip has decent contrast, steady shots, and clear subjects, the AI has more to work with. That is why home movies shot outdoors, old vacation clips, classroom projects, and simple talking-head footage often turn out well.
On the other hand, weak source footage can throw the system off. Common trouble spots include:
- Heavy grain: Noise can make edges and textures harder to read.
- Blur: Soft details lead to weaker color guesses.
- Low light: Dark scenes hide important visual clues.
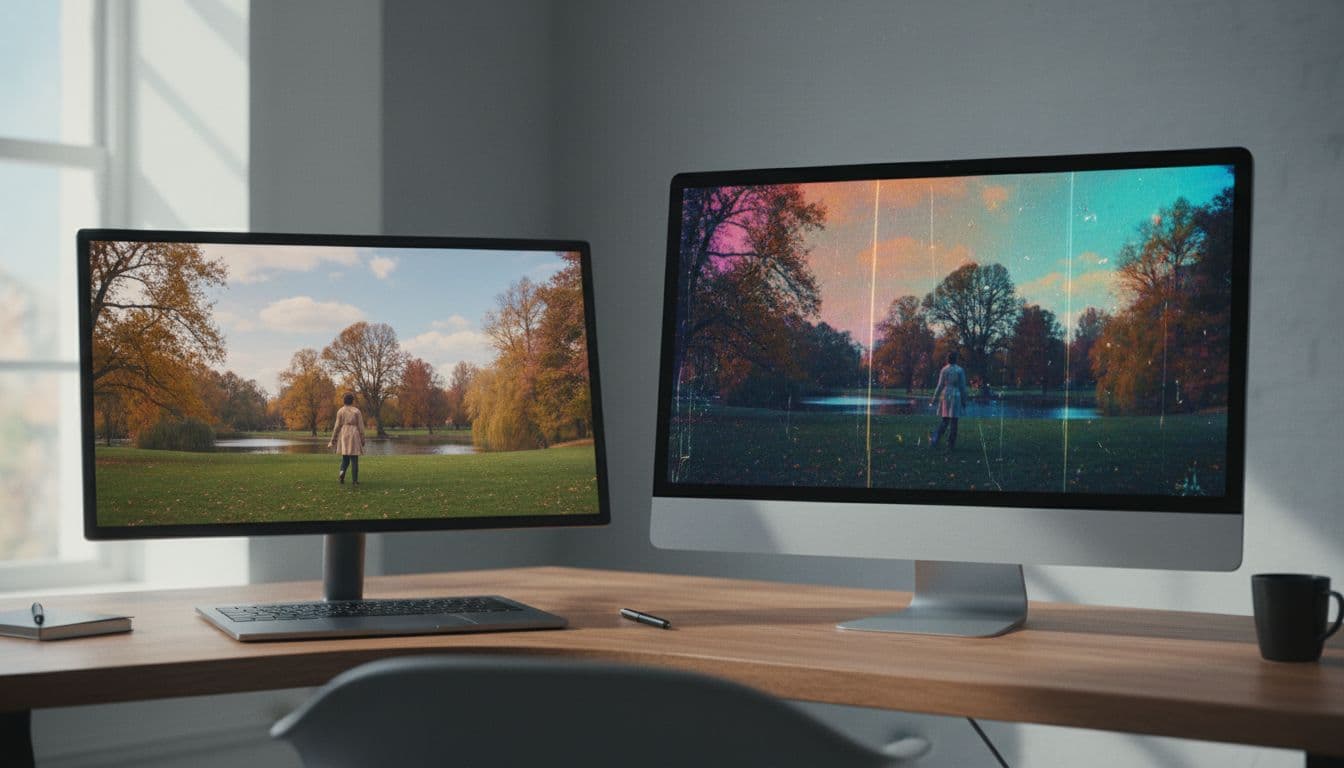
- Fast motion: Quick movement can cause color shifting across frames.
- Damaged film: Scratches, dust, and missing detail confuse object detection.
Some newer tools also add deflicker and batch features, which can help with consistency and speed, as seen in Deep Art Effects’ overview of temporal consistency. In short, free tools work best for tests, short clips, and casual restoration. If the footage is rough or the project needs historical accuracy, you’ll likely need cleanup, manual fixes, or a more advanced editor.
Best free tools to ai colorize video free in 2026
If you want the best ai colorize video free option, the right pick depends on what matters most to you. Some tools are better for quick online access, while others make more sense for privacy, local processing, or extra control. The good news is that you don’t need one perfect tool for every job. You need the one that fits your footage and workflow.
Kolorize for a fully free online option
If you want to start fast, Kolorize video colorization is one of the easiest places to begin. It’s online and free, so you don’t need to install anything first. You upload your clip, let the service process the frames, and wait for the finished result.
That simple setup works well for common files, including MP4, AVI, WEBM, and MOV. So, if you’ve got an old export sitting on your laptop, there’s a good chance it will upload without much fuss. For short tests, that convenience is hard to beat.
Still, browser-based tools come with trade-offs. Processing can be slow because your file has to upload first, then each frame gets handled on remote servers. In practice, a 5-minute video can take about an hour. That’s fine for a quick tryout, but not ideal when you’re in a hurry.
Privacy matters too. Since your footage leaves your device, Kolorize is less private than an offline desktop app. In short, it’s a strong pick for easy access and no upfront cost, but not the best fit for sensitive video or long jobs.
Pixbim Video Colorize AI for easy desktop processing
If you prefer to keep files on your own machine, Pixbim is a more comfortable fit. It runs on your local computer, which helps with privacy and gives you a more familiar desktop workflow. For many beginners, that feels less like using a web service and more like using a simple photo app.
The main appeal here is ease of use. You don’t need deep editing skills to get started, and that lowers the barrier for old family footage or personal archive clips. Recent highlights also make it more practical for real projects, including batch processing, deflickering, and sliders that help reduce unwanted colors when the AI gets a scene wrong.
There is a catch, though. Pixbim is not fully free forever. It’s best thought of as a free trial or demo first, then a one-time paid purchase if you want full access after that. So, if your goal is to test results before spending, it’s a solid choice. If you need a forever-free tool, keep looking.

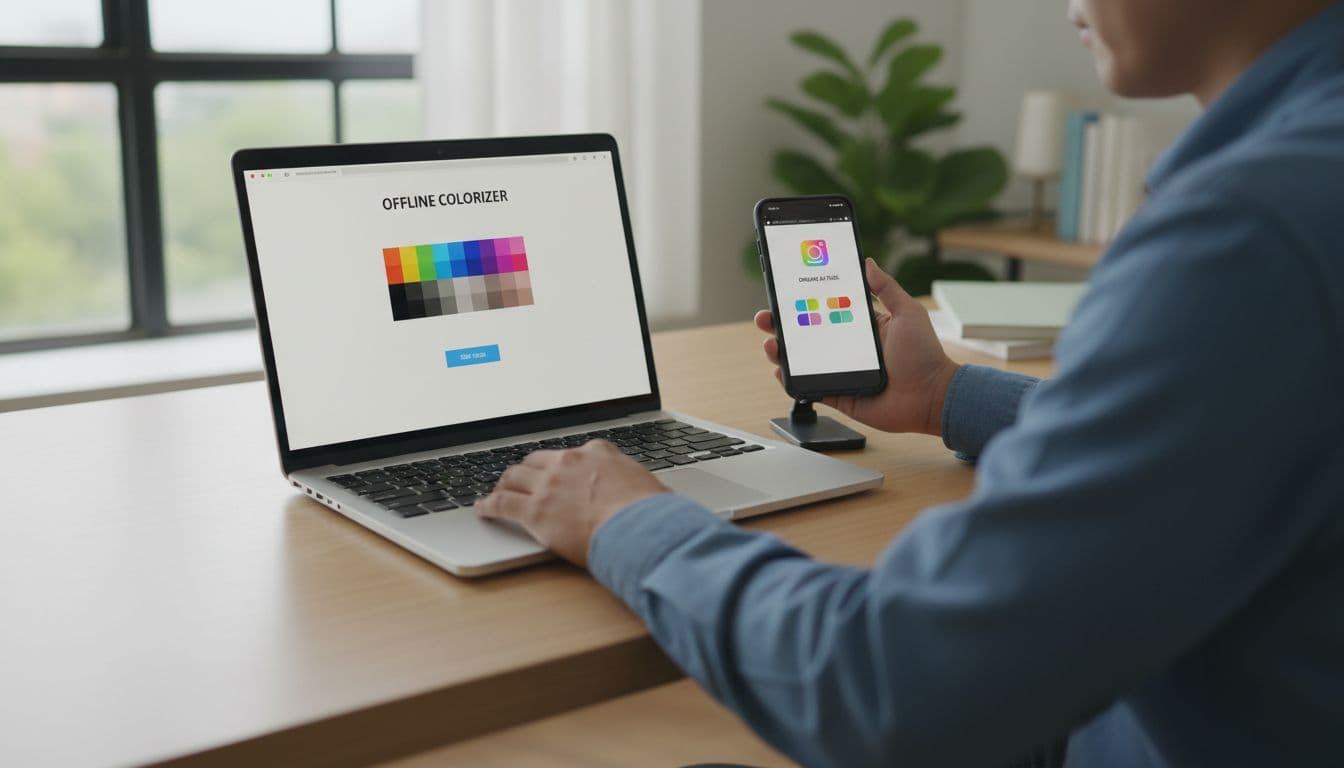
Deep Art Effects for a simple offline workflow
Deep Art Effects fits readers who want a short, clear process. The flow is simple: load the video, choose AI colorize, then export. That makes it easy to test on old footage without digging through a maze of settings.
Its biggest strength is offline use. As covered in Deep Art Effects’ offline colorization overview, local processing means your video stays on your device. That’s a real plus if you’re working with family archives, client files, or clips you simply don’t want to upload.
Free access can vary, though, and that’s where you should slow down before choosing it. Some tools offer a free version, a trial, or limits on export features. So while Deep Art Effects is promising for a simple offline workflow, it’s smart to confirm the current plan limits before you commit.
ImagineArt for users who want more color control
Some people don’t want a one-click result. They want to guide the look. That’s where ImagineArt stands out. Alongside basic color work, its video color correction tools lean into adjustments, lighting fixes, and stronger color styling.
In other words, this is a better fit if the AI gets you close, but not all the way there. You may want to push warmth, tame a strange tint, brighten a dull shot, or shape the scene with a more dramatic style. That extra control can make a restored clip feel less flat and more intentional.
Because of that, ImagineArt suits creators who want more than simple restoration. It’s less about pressing one button and walking away, and more about steering the final look. If you care about mood as much as accuracy, this kind of tool can feel like moving from autopilot to the driver’s seat.
How to choose the right free AI video colorizer for your footage
The best ai colorize video free tool depends less on flashy features and more on your situation. A short family clip, a client archive, and a creative edit all need different things. So before you pick a tool, match it to your privacy needs, clip length, export quality, and patience for processing.
Pick online or offline based on privacy and convenience
Online tools are the easiest place to start. You open a browser, upload a clip, and test results fast. If you only need a quick sample, that low-friction setup can feel like borrowing a tool instead of buying a whole workshop. A general online vs offline colorization comparison can help if you’re still weighing the basics.
Still, convenience has a cost. Your footage has to leave your device, which matters if you’re handling private family videos, paid client work, or unreleased content. In that case, an offline app is often the safer choice because the files stay with you.
Offline tools also make more sense for longer jobs. However, they usually need installation, local storage, and a decent computer. If your machine struggles with video editing already, local colorization may feel slow. In short, choose online for speed and simplicity, and choose offline for privacy and control.
If the footage is sensitive, privacy should beat convenience every time.
Check file limits, export quality, and wait times before you commit
Free tools often look great until you hit the fine print. One may cap clip length. Another may export with a watermark. A third may process your upload so slowly that a short test takes far longer than expected. Even Kolorize, which is easy to try, is best treated as a test-first option before you commit a bigger job.
Before you upload anything important, check a few basics:
- File limits: Make sure your clip length and file size fit the free plan.
- Export quality: Confirm whether you get SD, HD, or a compressed final file.
- Watermarks: Some free results are only useful for testing, not sharing.
- Formats: Verify that your MP4, MOV, AVI, or WEBM file will work.
- Wait times: Upload plus processing can turn a quick test into a long delay.
That small review saves time. It also helps you decide whether you need basic restoration or more hands-on creative control.
Simple steps to get better colorized video, even with free tools
Getting a better result from an ai colorize video free tool usually has less to do with the tool itself, and more to do with your prep. Think of it like painting a wall, if the surface is rough, the finish will show it. A few simple fixes before and after colorizing can make cheap or free tools look much better.
Start with the cleanest version of your video
Always use the highest-quality source you have. If you can choose between an old social upload and the original file, pick the original every time. More detail gives the AI more clues, so colors land closer to natural.
Before you colorize, do a quick cleanup pass. You do not need pro skills for this. Just focus on the basics:
- Reduce noise so grain does not confuse edges and faces
- Fix contrast so the tool can separate people, clothes, sky, and walls
- Trim bad sections with damage, blank frames, or heavy blur
- Stabilize shaky shots if your editor offers a one-click option
Even light cleanup helps. For example, a noisy sky can turn patchy blue, while a shaky face can shift tones from frame to frame. If you need a simple starting point, guides to free video noise reduction software and tools like Kapwing’s video clearer can help with easy fixes.
Run a short test clip before processing the full video
Do not send the whole file first. Export or cut a 10 to 30 second test clip and run that through the tool. This small step can save a lot of time.
A short sample lets you check the parts that matter most:
- Skin tones: Do faces look warm and believable, or gray and orange?
- Sky color: Does the sky look natural, or too deep and fake?
- Clothing: Are shirts, jackets, and dresses stable from shot to shot?
- Frame consistency: Do colors stay steady, or flicker as the scene moves?
This matters even more with long videos, because a two-minute problem can become a one-hour mistake. If the sample looks off, go back, tweak brightness or contrast, and test again. That loop is faster than waiting on a full export you will not use.
A 15-second test can tell you more than a full render that took all afternoon.
Use light touch edits after colorization to make results look natural
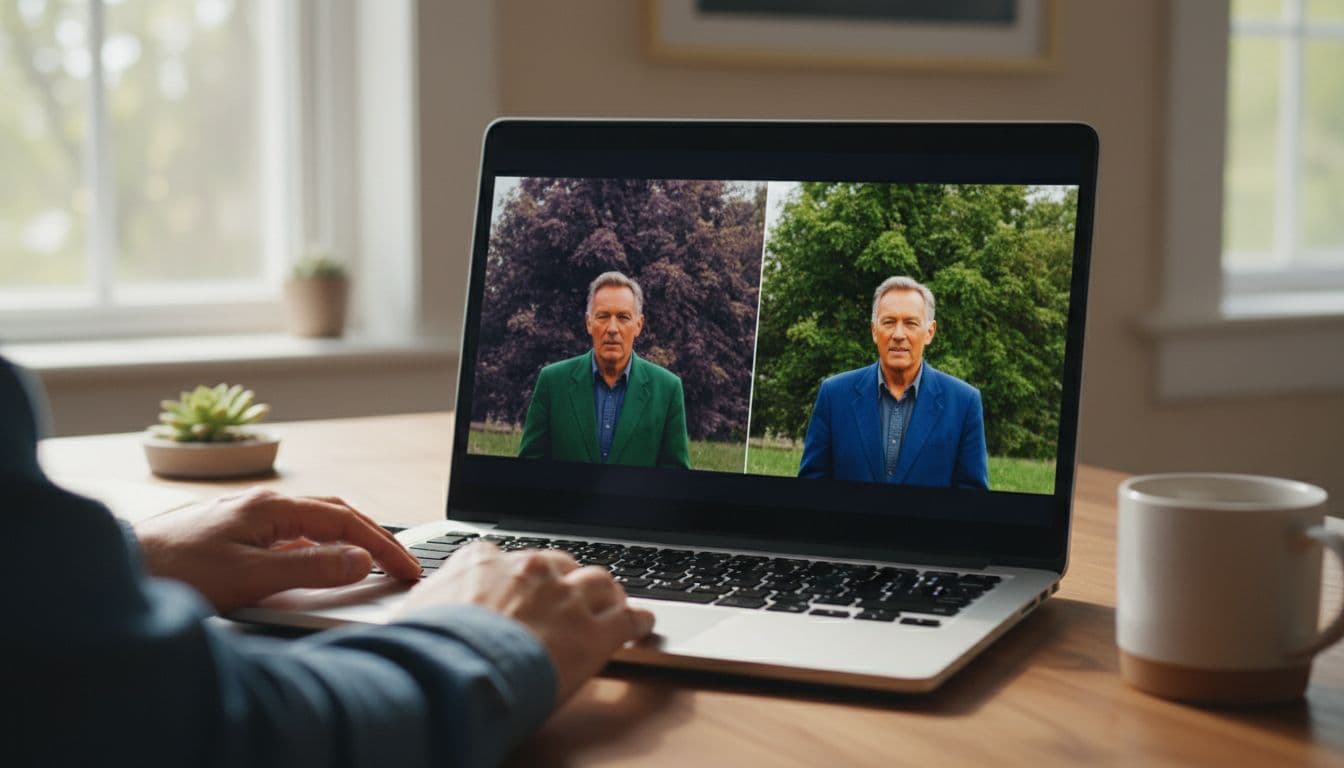
Once the color pass is done, keep your edits small. Free tools often push colors too hard, especially reds, blues, and skin tones. Your goal is not to make the clip louder. It is to make it look more believable.
Start with a few easy fixes. Lower oversaturated colors a bit, then check faces first. If skin looks too pink, too yellow, or oddly gray, pull it back until it feels human again. Also watch for flicker. If one shot jumps brighter or shifts color, cut that section and apply a small correction.
In many cases, simple brightness and contrast changes do the most work. A small adjustment can take a clip from plastic-looking to natural. If you want a beginner-friendly look at free finishing tools, this roundup of best free color correction software is a useful place to compare options.
Common problems with free AI colorized video, and how to fix them
Even the best ai colorize video free tool can miss the mark. That doesn’t mean your footage is doomed. Most bad results come from a few common issues, and in many cases, a small change in your workflow fixes them.
Why colors flicker or shift between frames
Flicker usually happens when the model reads each frame a little differently. Changing light, fast motion, camera shake, and weak source quality all make that worse. So a face might look warm in one frame, then drift gray or orange in the next.
Start with a cleaner file if you can. Also, test a shorter clip first, because a quick sample reveals instability fast. If your tool offers deflicker or temporal consistency help, use it. A simple guide to temporal inconsistency fixes explains why this happens in motion, not just frame by frame.
What to do when skin tones, clothing, or backgrounds look wrong
AI makes educated guesses, not promises. That’s why skin can turn too pink, jackets can shift to the wrong shade, and trees or walls can pick up odd color casts. Complex scenes make those mistakes more likely.
First, rerun the clip. A second pass sometimes lands closer. Then make light fixes after export, especially on saturation, warmth, and contrast. If color accuracy matters, switch to a tool with stronger manual correction or use a simple video color correction tool after the AI pass.
If the result looks close but not right, don’t start over from scratch. Tweak the finish.
How to handle slow processing and failed exports
Free tools often run on shared servers or limited hardware, so long clips can crawl or fail at the export step. Browser tools struggle the most when files are large, high-res, or in tricky formats.
Keep your test renders short. Check supported file types before uploading, and trim the clip to the section you actually need. If the browser keeps stalling, move to desktop software. In short, treat free online tools like a test bench, not a heavy-duty workshop.
Conclusion
The best ai colorize video free tool depends on what matters most to you. If you want fully free online access, Kolorize is an easy place to start. If privacy comes first, offline tools like Pixbim or Deep Art Effects make more sense. Meanwhile, if you’re new to this, simple one-click apps save time, and if you want more creative control, a tool like ImagineArt gives you more room to shape the final look.
Still, there isn’t one perfect choice for everyone, because your footage, goals, and comfort level all matter. So start with a short test clip, compare a few results, and only then process valuable or hard-to-replace video.
With realistic expectations and a little cleanup, free AI colorization can deliver impressive results. Used the right way, it turns old black-and-white footage into something more vivid, watchable, and worth sharing.